Most buyers attend one or two viewings before making an offer. In those brief visits, you are expected to assess a building that may have concealed moisture problems developed over decades — and the seller has typically had the opportunity to present it in its most favourable light. Fresh paint, well-positioned furniture, air fresheners, and viewings scheduled in bright conditions are all tools for managing first impressions.
Damp is among the most commonly concealed problems in UK residential property sales. It is invisible to a casual look at a newly painted wall. It requires a systematic approach — knowing exactly where to look, what each sign means, and which observations warrant a specialist survey before exchange of contracts.
This guide gives you that system. No specialist equipment is required for the initial assessment — the visual and olfactory signs described here are detectable by any buyer who knows what they indicate.
Before the Viewing: Two Free Checks
Two checks available before you leave home give you contextual information that makes your viewing observations more interpretable.
Check the property’s flood risk. The Environment Agency’s free check-long-term-flood-risk tool provides the annual probability of flooding from rivers, the sea, and surface water for any address in England. A Zone 3 high-risk property has a 1 in 30 or greater annual probability of flooding. This is not a reason to avoid the property — but a property in a flood-risk area with fresh ground-floor decoration deserves especially careful moisture investigation.
Look hard at the listing photographs. Estate agent photographs are taken to make the property look its best. Any moisture evidence visible despite this — ceiling staining in room photographs, discolouration at skirting board level, uneven wall surfaces — is meaningful. Also look at outdoor photographs for gutter condition, pointing quality, and any visible rendering problems.
What to Take to the Viewing
You do not need professional equipment for a viewing assessment, but two items help.
A small torch is essential for looking into dark corners, checking under sinks, inspecting the roof space through an access hatch, and examining the sub-floor void if a hatch is accessible. Many of the most significant moisture signs are in places that require a torch to see clearly.
Your phone should be used to photograph every observation that concerns you — with the timestamp enabled. If you subsequently discover damp after completion, timestamped photographs taken during a viewing before you were committed are the most powerful evidence available.
The Ground Floor: Rising Damp and Sub-Floor Moisture
The ground floor of an older property — particularly one with solid or suspended timber construction — requires the most careful attention. Rising damp and sub-floor moisture both manifest here.
Skirting boards on external walls. Run your fingertips along the base of the skirting boards on external walls. Softness at the base — where the skirting contacts the wall — indicates moisture has been absorbed into the timber. Skirting that lifts slightly from the wall at its foot, that shows paint flaking or lifting at the lowest point, or that has visible dark discolouration at its base has been in sustained contact with elevated moisture. Pay particular attention to corners where two external walls meet — the coldest and most vulnerable junction.
Wall surfaces at low level. Examine the plaster or paint surface from floor level to approximately 600mm on external walls. Look for:
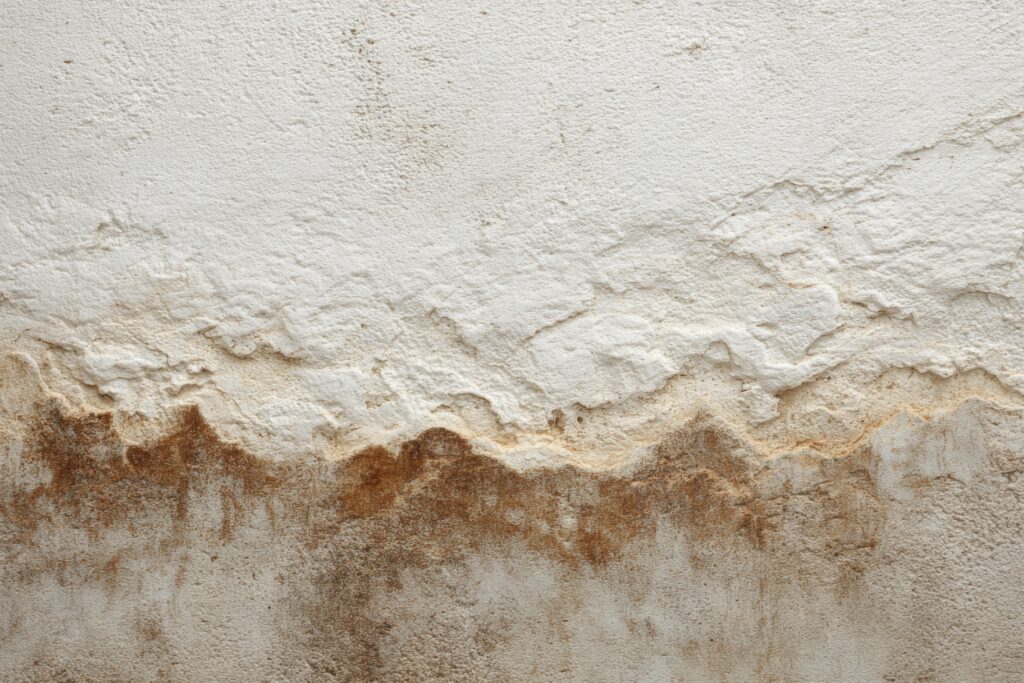
- A tide mark running horizontally at a consistent height — the classic signature of rising damp
- White crystalline deposits on the surface or at the skirting board line — efflorescence from soluble salts carried up by rising water
- Bubbling, blistering, or lifting paint that indicates the plaster behind is carrying moisture
- A hollow sound when the wall is tapped lightly at low level — indicating blown plaster that has lost adhesion to the wall behind it
The floor surface itself. Walk slowly across the full floor area, taking small steps and noticing variations underfoot. A soft or yielding section in a suspended timber floor — particularly near external walls or in the vicinity of soil pipes and bathroom waste routes — indicates elevated moisture in the sub-floor structure. Pay attention to any areas where the floor level is not completely flat; differential movement in wet and dry timber sections of a sub-floor produces visible unevenness.
Smell at ground level. Crouch down and breathe at floor level in the corners of ground-floor rooms, particularly those with external walls on two sides. The musty, earthy smell of active mould — produced by microbial volatile organic compounds that are detectable at parts per billion — is most concentrated at floor level in rooms where sub-floor moisture has been producing mould. If the seller has used air freshener or scented candles throughout, this can mask the smell at normal height. Getting closer to the floor bypasses much of this masking.
Read also- damp in house I just bought what are my options
Bathrooms and Wet Rooms: Failed Seals and Hidden Water Damage
Bathrooms are the primary source of hidden water damage in the floor structure and ceiling below. A failure that has been running for months produces damage that may only be discovered when the floor is lifted or the ceiling below is stripped.
Sealant around the bath and shower tray. Look closely at the junction between the bath or tray and the tiles. Sealant that is cracked through its full length, splitting away from the surface, discoloured black with mould throughout, or visibly absent in sections is a failed seal. Water has been entering the floor structure at this point with every bath or shower. The question is how long it has been happening and how much damage has accumulated below.
Grout between tiles. Grout that is absent between tiles at the base row of a shower or along the bath surround — particularly at the most water-exposed corner junctions — has been allowing water behind the tile line. Tap individual tiles with a knuckle: a hollow sound indicates the tile has debonded from the backing, which typically means moisture has reached behind the tile surface.
Under the sink cabinet. Open the cupboard beneath the bathroom and kitchen sinks. Look at the back panel and the base. Staining, swollen board, water marks, or soft particleboard at the base indicates a historical or current plumbing leak from the trap or supply connections. A fresh, clean cabinet interior does not guarantee the same below the floor — but evidence in the cabinet is a reliable indicator of ongoing or past moisture.
The ceiling directly below a bathroom. If you can see the ceiling of the room beneath the bathroom — a ground-floor reception room below a first-floor bathroom, or a basement below a ground-floor bathroom — examine it for staining. Any brown, yellow, or white tide marks on a ceiling below a bathroom indicate the floor structure above has received water. The age of the stain is not determinative — a stain that looks old may have been painted over recently.
For the Environment Agency’s free flood risk check for any address, check: GOV.UK — check flood risk for properties
Ceilings and Upper Floors: Penetrating Damp from Above
Look up in every room. The majority of buyers spend most of a viewing looking at eye level and below. Ceilings carry some of the most reliable moisture evidence in any property — and they are systematically ignored. In every room you enter, look at the ceiling before looking at anything else. You are looking for:
- Brown, yellow, or white staining of any size or age
- A ceiling surface that is uneven or bumpy in a circular or irregular pattern — suggesting repeated cycles of painting over a stain
- A section of ceiling where the paint appears slightly different in sheen, age, or colour from the rest — indicating isolated repair over a stain rather than full-room redecoration
- Any section of ceiling that appears even slightly lower than its surroundings — indicating swelling or sagging from water damage
Walls adjacent to chimney breasts. The wall immediately to either side of a chimney breast on upper floors is a classic location for penetrating damp from a failed chimney stack. Failed pointing on the stack, cracked or lifting lead flashings at the chimney base, and deteriorated render on the chimney breast all direct water into the wall adjacent to the flue. Discolouration, mould, or staining on these walls deserves specific attention.
Window reveals and wall-window junctions. Look at the plaster and paint at the reveal — the internal jamb and sill area where the window frame meets the wall. Failed external sealant at this junction allows water to run into the cavity or directly into the reveal plaster. The moisture pattern is typically a vertical stain running from the window frame downward, or a horizontal stain along the inner sill.
The External Inspection: Five Minutes Well Spent
The most cost-effective part of any viewing for moisture investigation is five minutes spent outside examining the building fabric before or after the internal tour.
Gutters and downpipes. Look along the full gutter run visible from outside. Gutters that sag in the middle, have vegetation growing from them, show green algae staining on the wall immediately below them, or have overflow marks on the wall are not functioning. A blocked or failed gutter at the junction of two roof sections can direct large volumes of water directly onto the party wall — the most common undisclosed source of penetrating damp in terraced properties.
Pointing and brickwork. From a comfortable viewing distance, look for areas of brickwork where the mortar joints appear absent, crumbling, or different in colour from adjacent areas. Failed pointing in a localised area — around window frames, at chimney bases, along the junction of an extension with the main structure — is where water enters. The internal damp patch will be directly inboard of this external defect.
External ground level. On Victorian and Edwardian properties, look for the DPC — the thin horizontal line of engineering brick, slate, or bitumen at low level in the external wall. Check that the external ground, paving, or decking sits at least 150mm below it. Raised paving, soil mounding, or decking built up against the wall bridges the DPC and creates a rising damp pathway regardless of whether the DPC itself is intact.
When What You Find Warrants a Specialist Survey
No single sign from the list above is definitive in isolation. A single soft skirting board or a single ceiling stain may have a simple explanation. A pattern of multiple observations across several areas of the same property is significant.
Instruct a BDMA-certified specialist damp survey — before exchange of contracts — when:
- Two or more of the signs above are present in the same property
- Any sign is present in combination with fresh isolated redecoration that may have been applied over evidence
- The RICS survey has flagged moisture concerns even tentatively
- The property is in a flood-risk area and shows any ground-floor moisture evidence
- You are unable to access significant areas (fitted basement, concealed sub-floor void) at the viewing and the property is older
Disaster Care Capital provides BDMA-certified pre-purchase damp surveys and moisture assessments across London — systematic moisture mapping with calibrated instruments, thermal imaging, cause-specific diagnosis, and written reports that give buyers the documented evidence they need before making any commitment. Call us today for a free same-day consultation.
For RICS guidance on property surveys and specialist investigations, check: RICS — homebuyer surveys and what they cover
Conclusion
Checking for damp at a property viewing requires a systematic approach across every area of the building — ground floor and skirting boards, wet room seals and ceilings below, upstairs ceilings and chimney breast walls, and the external fabric. The signs are learnable and detectable without specialist equipment. A pattern of multiple observations is grounds to instruct a specialist damp survey before exchange. The cost of that survey is negligible relative to the decisions it informs — and the legal leverage it creates when negotiating on a property with undisclosed moisture problems.
Frequently Asked Questions
What are the most reliable signs of damp at a property viewing?
The most reliable signs are: a musty smell at floor level in corners of ground-floor rooms; tide marks at a consistent height on external walls at low level; white salt deposits (efflorescence) on brickwork or plaster; soft skirting boards at their base; failed grout or sealant in bathrooms; ceiling staining or freshly painted patches on ceilings; and yielding or springy floorboards in isolated areas. A pattern of several of these across multiple rooms is a strong indication to commission a specialist survey.
Can damp be hidden at a viewing?
Yes — fresh paint over a moisture-affected surface, furniture placed against a damp wall, air freshener masking a musty smell, and viewings timed for dry weather all reduce the visibility of damp evidence. Thermal imaging by a specialist surveyor identifies moisture concealed behind recently decorated surfaces that is invisible to visual inspection — this is why a BDMA-certified damp survey is the professional standard for pre-purchase investigations rather than a second viewing.
Should I make an offer on a house with signs of damp?
Signs of damp at a viewing are not necessarily a reason to walk away — they are a reason to investigate before committing. Commission a specialist BDMA-certified damp survey and obtain a contractor’s remediation quote. Armed with this evidence, you can negotiate a price reduction, request remediation before exchange, or make an informed decision to proceed or withdraw. The mistake is making an offer and exchanging contracts without this information.
What is the difference between seeing damp at a viewing and having a damp survey done?
A viewing assessment using the visual and olfactory signs in this guide identifies which areas of the property may have moisture problems. A BDMA-certified damp survey quantifies exactly how much moisture is present and where, identifies the cause mechanism with professional certainty, and produces a documented report that underpins price negotiation and legal advice. The viewing assessment tells you whether to commission the survey. The survey tells you what you are actually dealing with.